Brainstorm
We brainstormd and come up more than ten ideas, and then picked one via voting.
Brainstorm meeting
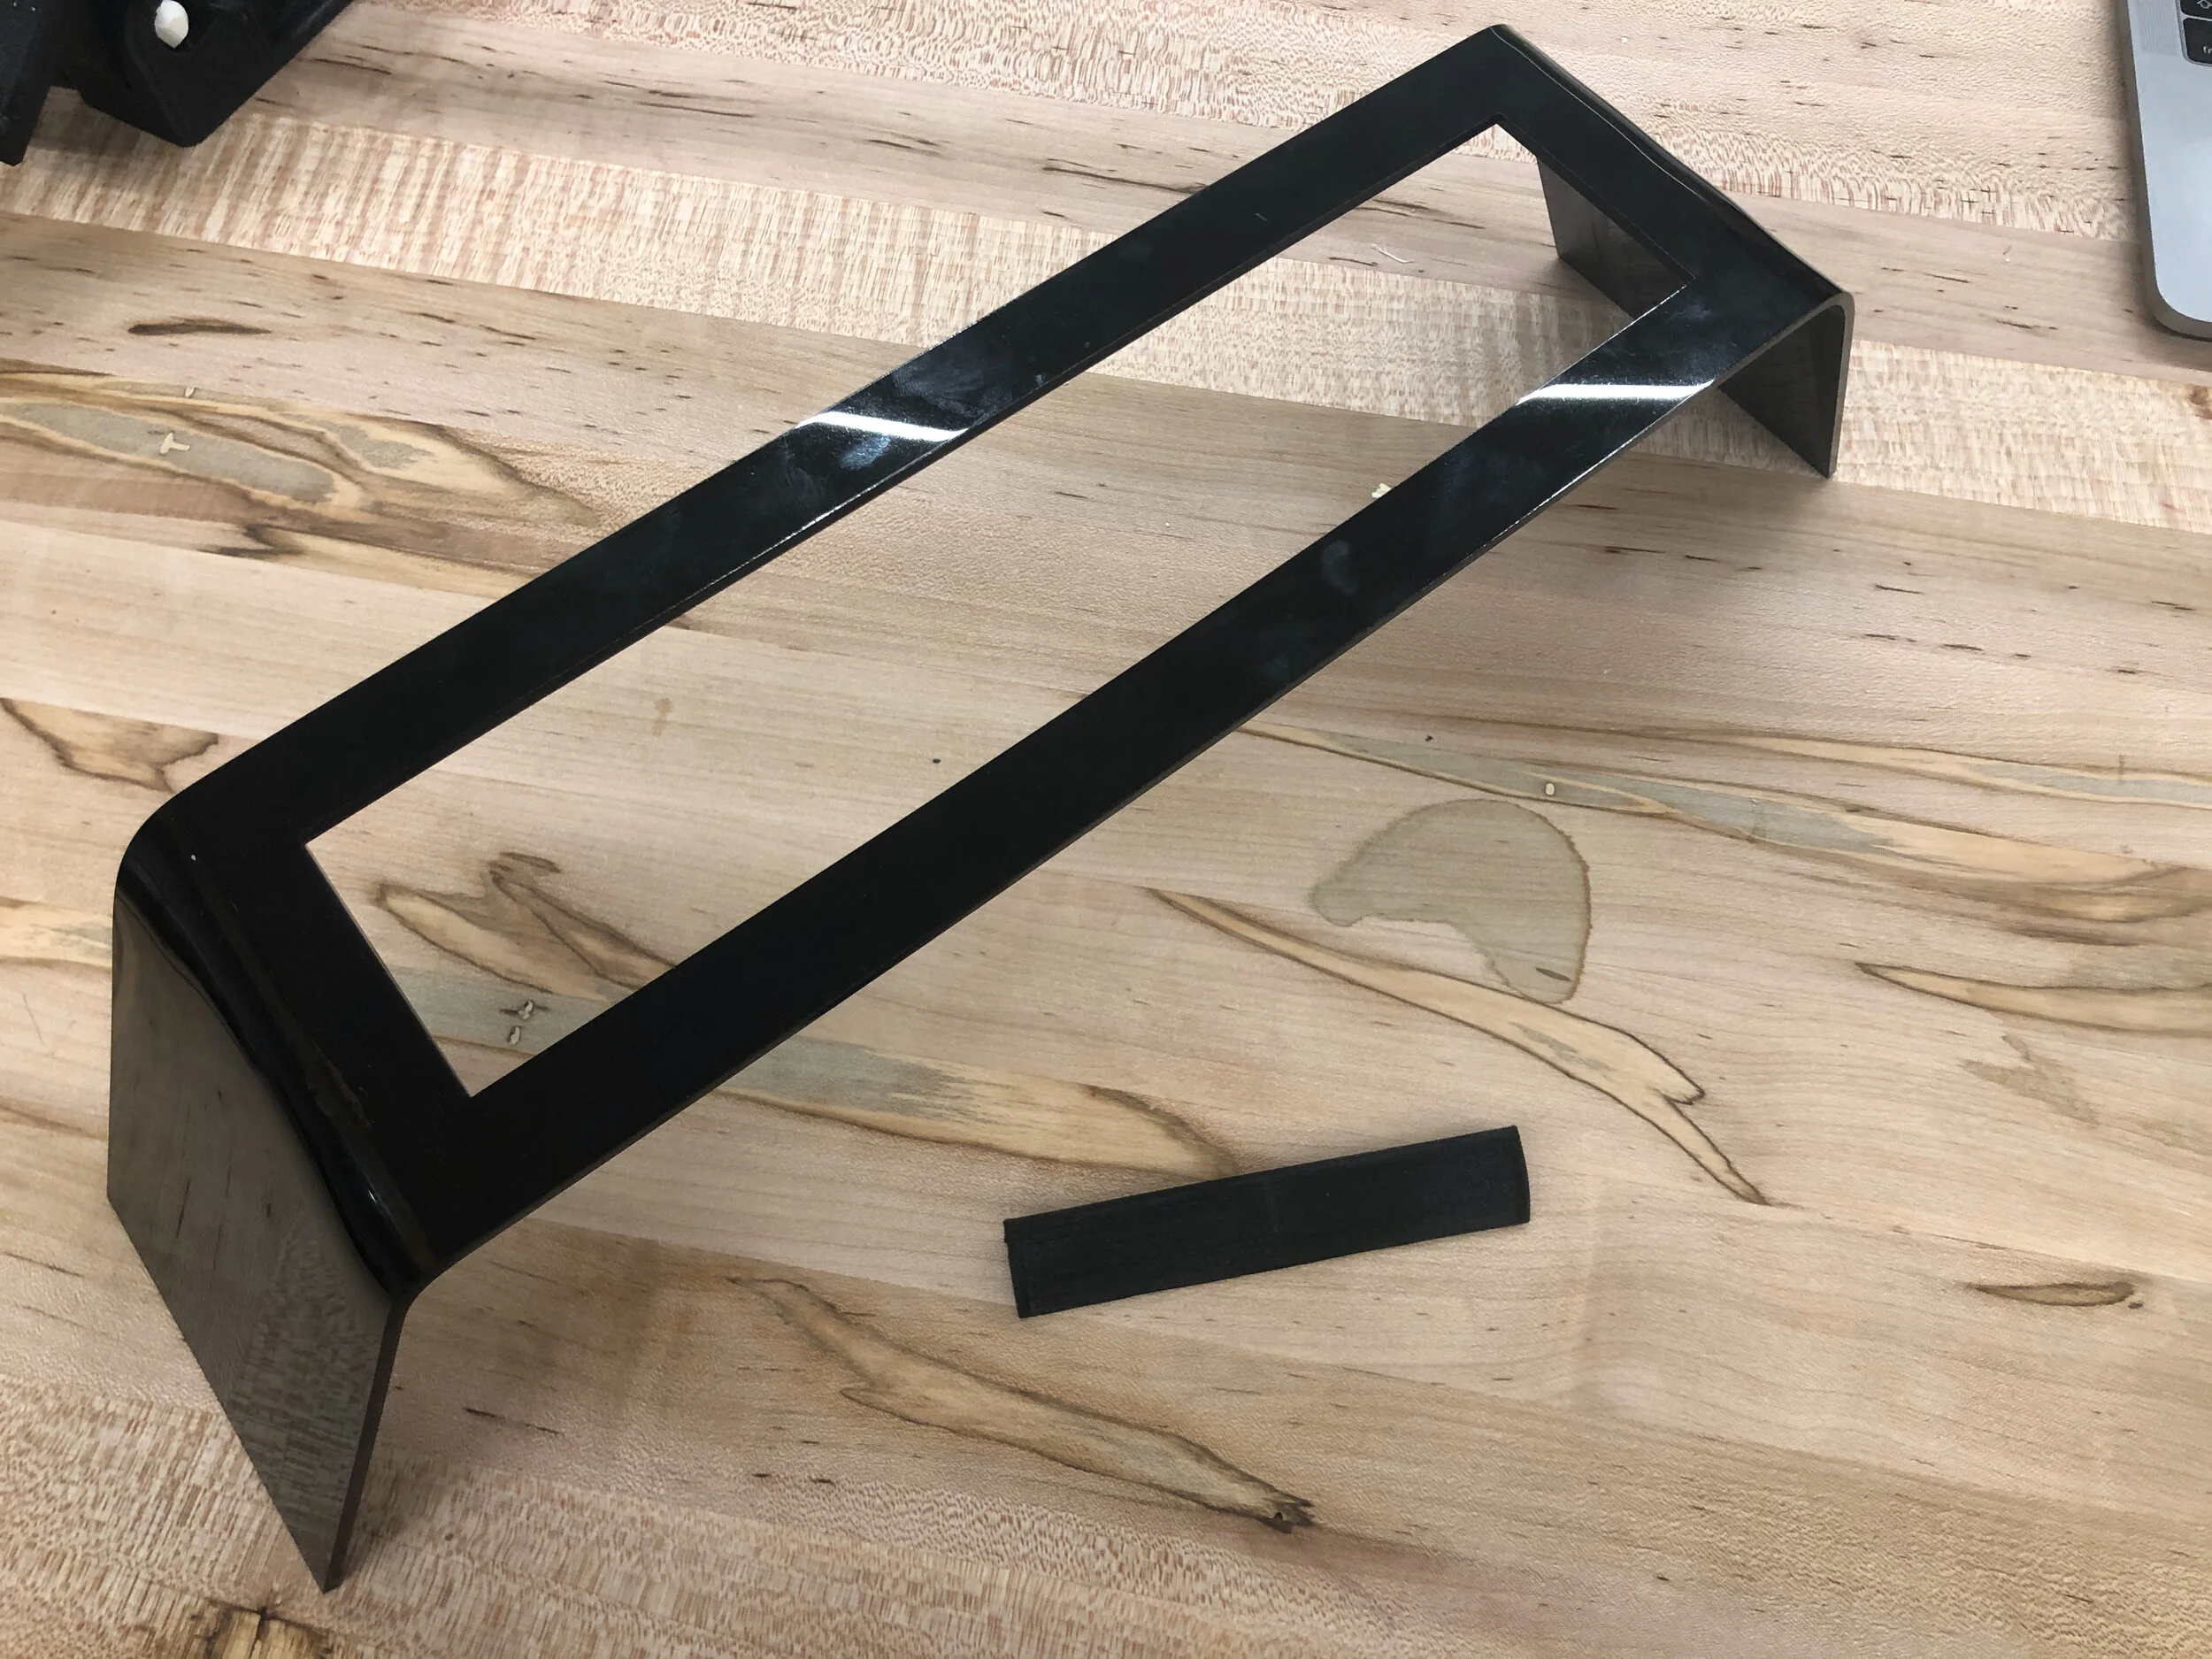
Sketch
Here is part of our sketches to develop our idea.


Work Progress

Brainstorm meeting